


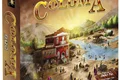
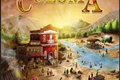


بازی فکری اورجینال کولوما: Coloma
Coloma
بازی فکری کولوما یک تجربه جذاب و استراتژیک است که در آن شما به عنوان یک پیشگام به غرب سفر کرده و در تلاش برای ثروتمند شدن و ایجاد نامی برای خود هستید. در این بازی، شما باید طلا جستجو کرده و از درآمدهای خود برای استخدام کارگران، خرید اسب و ایجاد مشاغل استفاده کنید. با دیگر پیشگامان رقابت خواهید کرد و باید از تاکتیکهای حیلهگرانه برای دستیابی به اهداف خود استفاده کنید.
معرفی کامل محصول بازی فکری کولوما
درباره بازی
بازی فکری کولوما (Coloma) شما را به سفر به غرب در سال 1848 میبرد، زمانی که خبر کشف طلا در این منطقه به سرعت در حال گسترش بود. شما به عنوان یک پیشگام، هدف دارید تا از فرصتهای موجود استفاده کرده و در این مسیر به ثروت برسید. اما این سفر بدون چالش نخواهد بود؛ زیرا سایر پیشگامان نیز به دنبال طلا هستند و شما باید با آنها رقابت کنید.
هدف بازی
هدف اصلی در بازی کولوما، جستجوی طلا، استخدام کارگران و ایجاد مشاغل برای رسیدن به ثروت بیشتر و به دست آوردن امتیاز است. در نهایت، بازیکنی که بهترین استراتژی را به کار گیرد و بیشترین امتیاز را کسب کند، برنده خواهد بود.
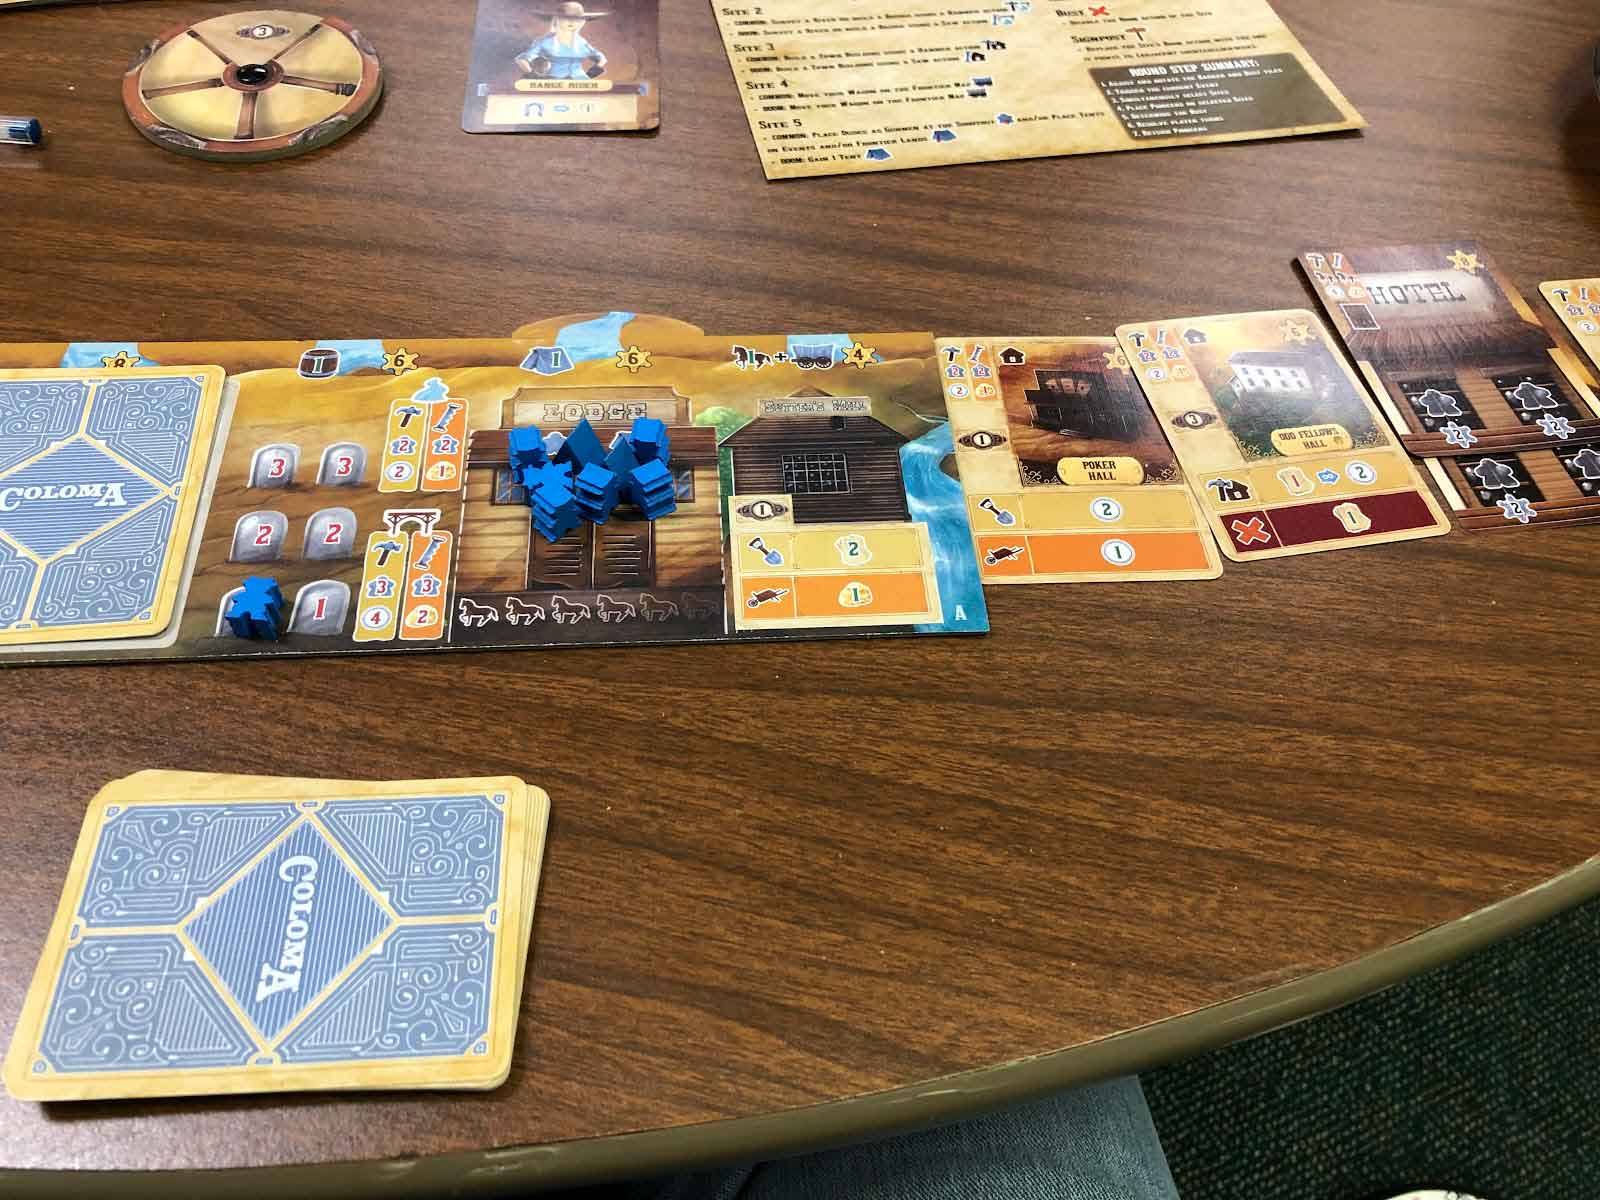
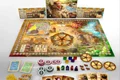
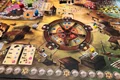
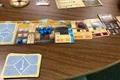
اجزای بازی
- 1 تابلو اصلی
- کاشی بارکر
- کاشی مجسمه
- 20 اسب
- علامت بازیکن اول
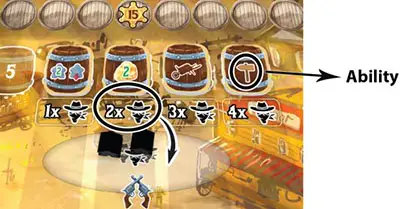
- 24 بشکه
- 18 کاشی پل
- 5 دیال انتخابگر
- 5 پیشگام
- 40 چادر
- 5 واگن
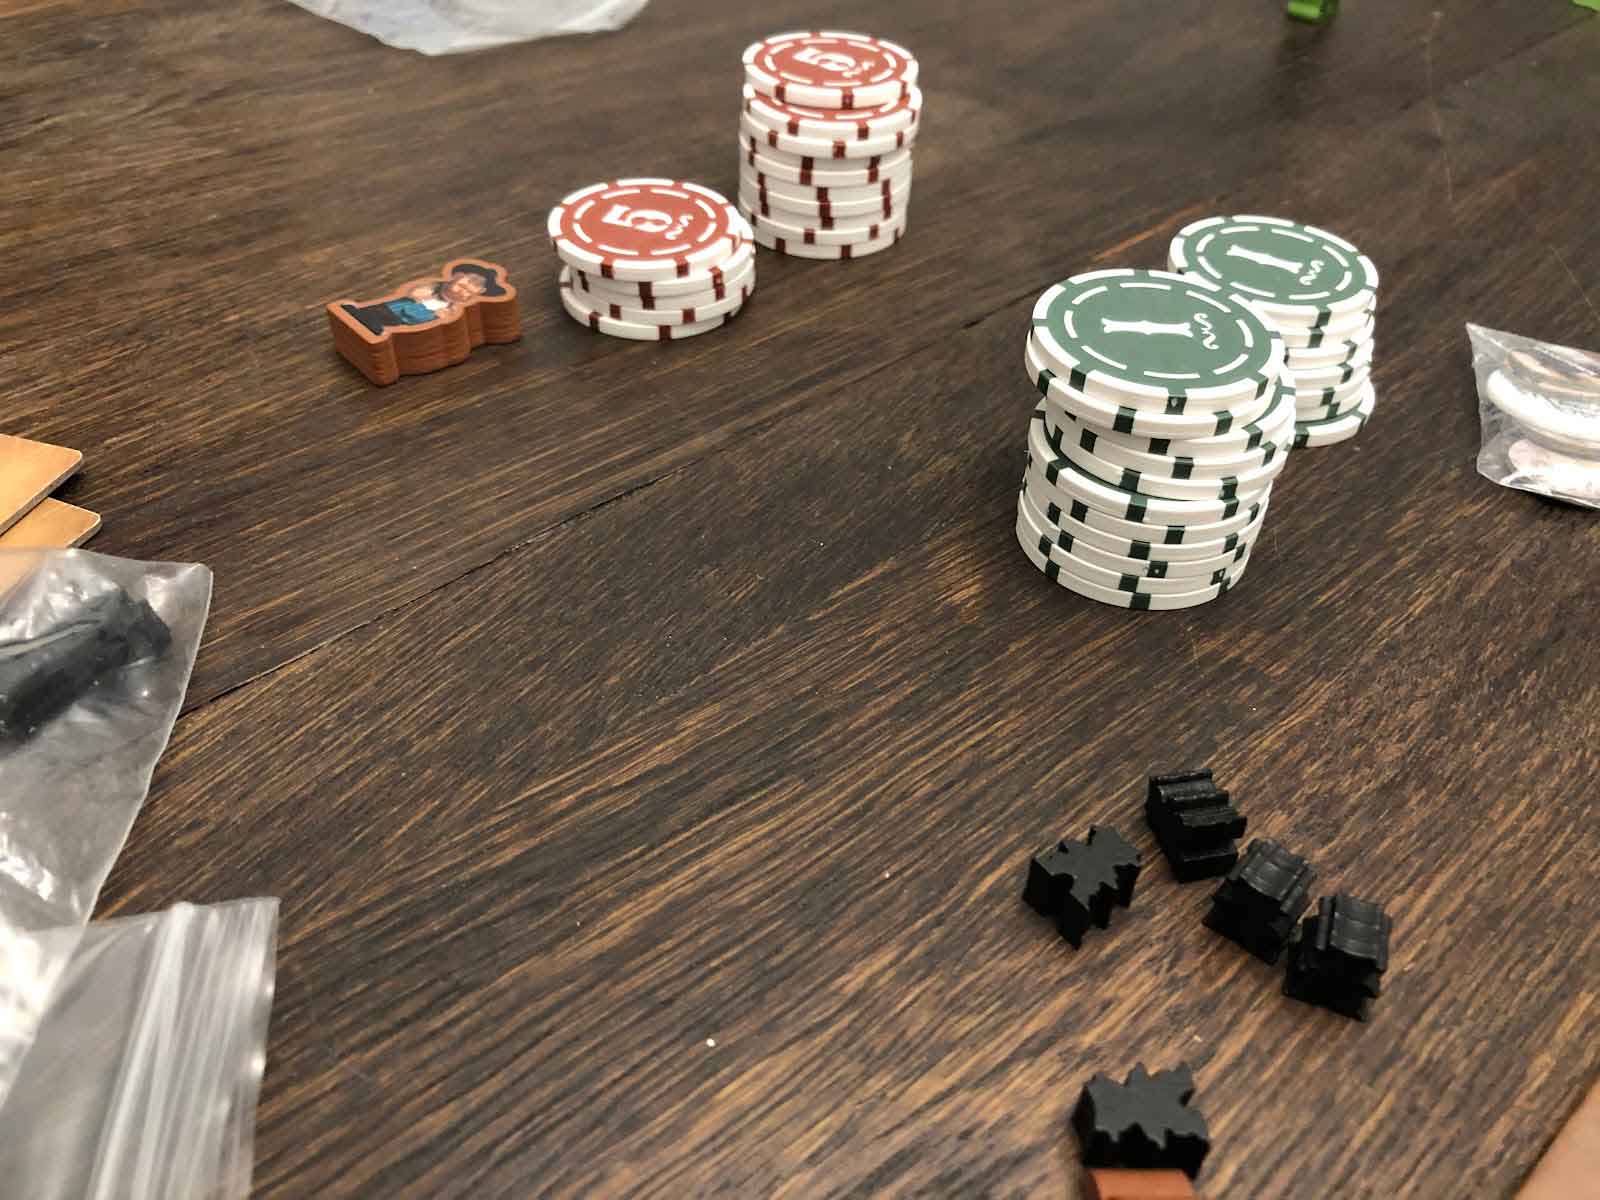
- 40 سکه
- 1 نشانگر دور
- 5 نشانگر امتیاز
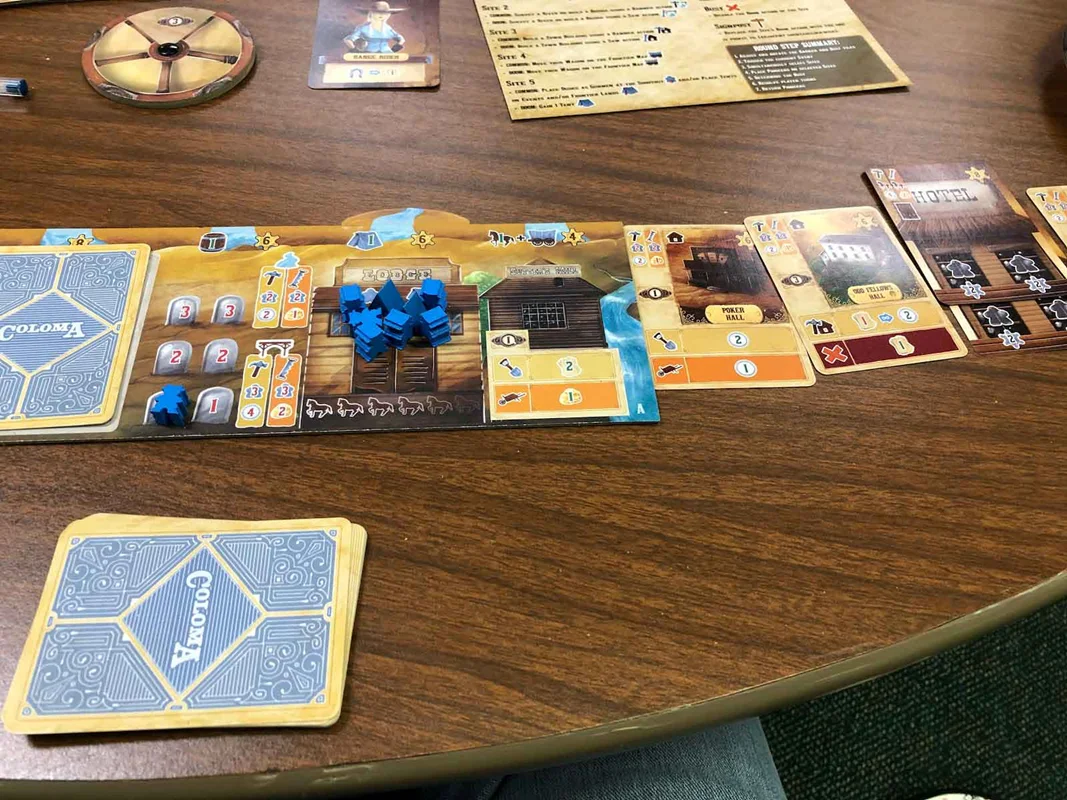
- 5 تخته بازیکن
- 10 هتل
- 5 کارت باستر
- پیشگام باستر
- راهنمای بازی
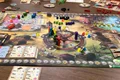
نحوه بازی
- جستجوی طلا: بازیکنان باید در طول بازی به جستجوی طلا بپردازند و از منابع خود به درستی استفاده کنند.
- استخدام کارگران و اسبها: با درآمدهایی که به دست میآورید، میتوانید کارگران و اسبهایی را برای بهبود عملکرد خود استخدام کنید.
- ایجاد مشاغل و کمپها: ایجاد مشاغل و ساخت کمپها برای افزایش درآمد و امتیاز بسیار مهم است.
- رقابت با دیگر بازیکنان: شما باید با دیگر پیشگامان رقابت کرده و از تاکتیکهای حیلهگرانه استفاده کنید تا در این مسیر موفق شوید.
ویژگیهای بازی
- تجربه استراتژیک: نیاز به تفکر عمیق و برنامهریزی برای استفاده بهینه از منابع.
- محیط رقابتی: بازی با دیگر پیشگامان و رقابت برای جستجوی طلا.
- تنوع در گیمپلی: امکان استفاده از استراتژیهای مختلف برای رسیدن به اهداف.
نتیجهگیری
بازی فکری کولوما یک تجربه هیجانانگیز و پر از چالش برای علاقهمندان به بازیهای استراتژیک است. آیا آمادهاید تا در دنیای پر از طلا و رقابت پیشگامان قرار بگیرید و نام خود را بر سر زبانها بیندازید؟
Coloma: یک راهنمای جامع
آمادهسازی بازی
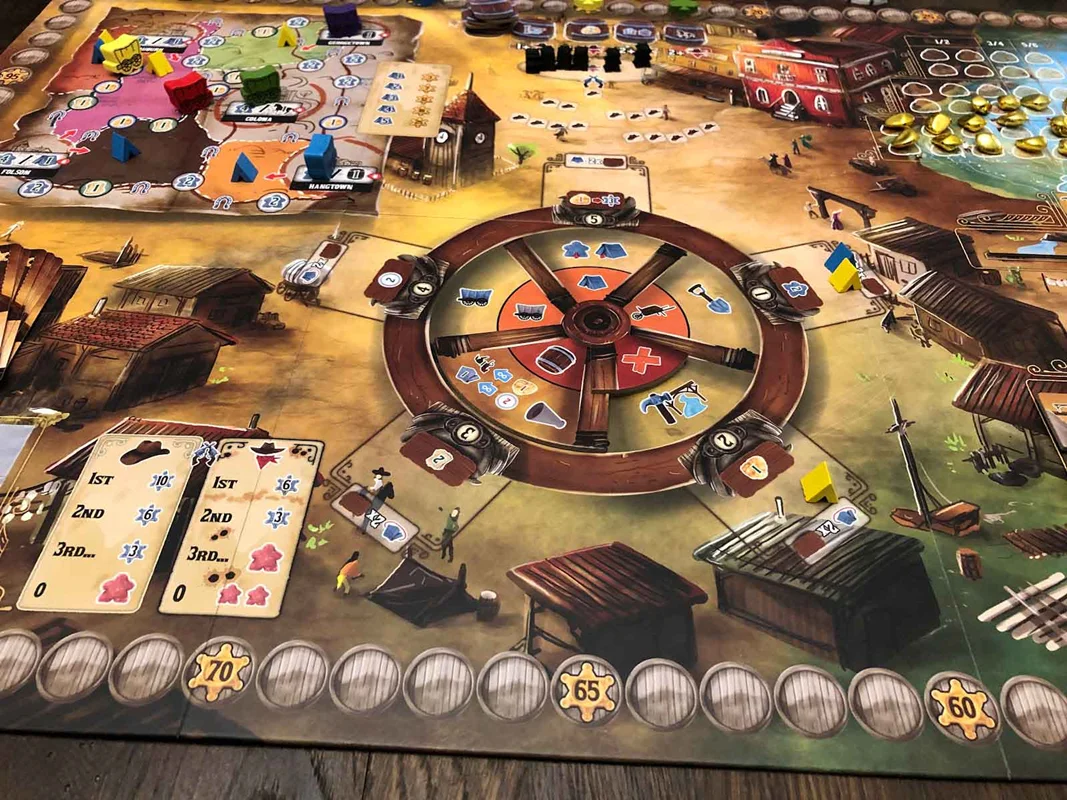
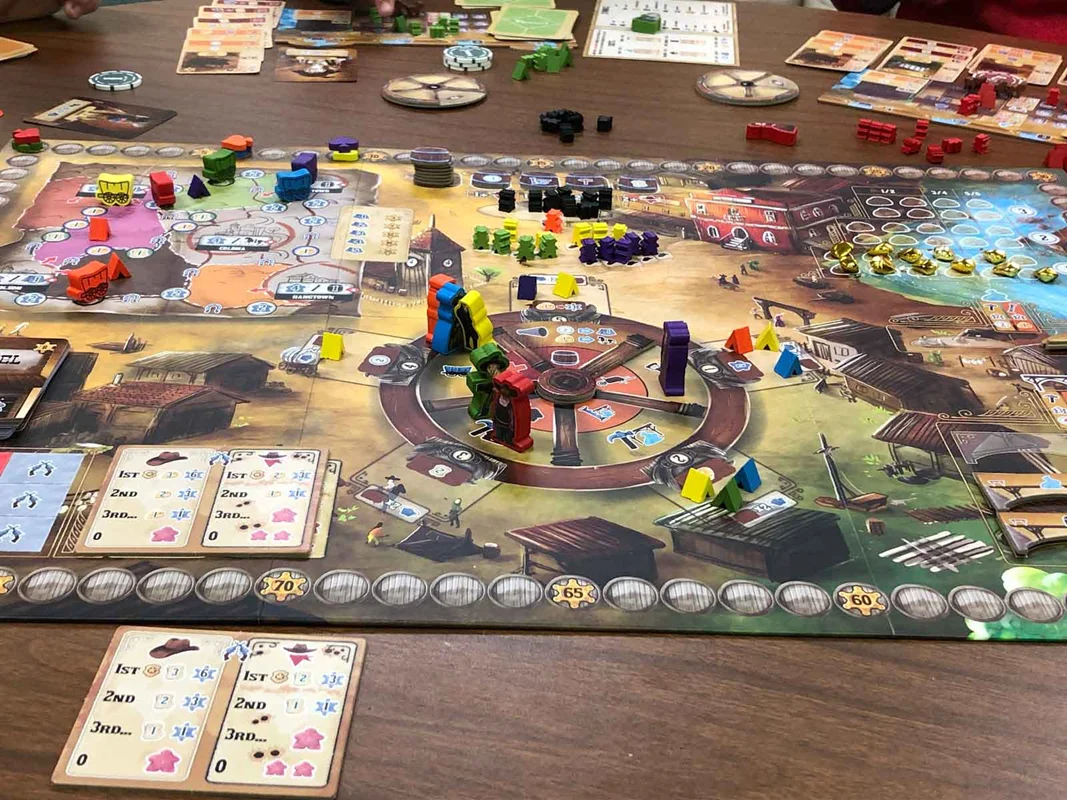
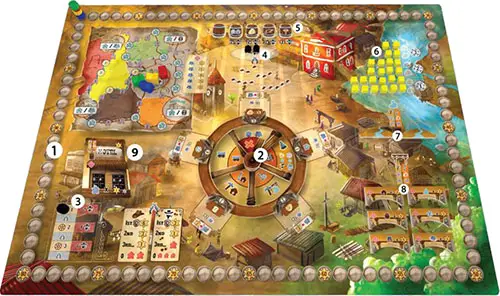
- قرار دادن تخته بازی: تخته بازی را در مرکز میز قرار دهید.
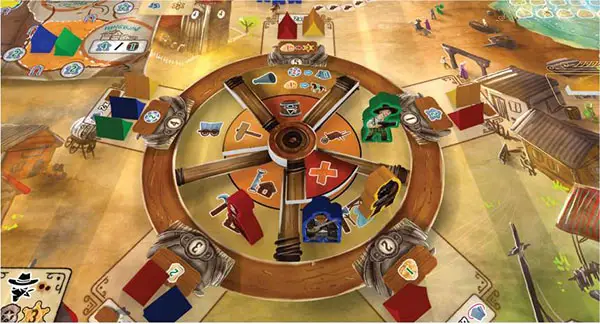
- متصل کردن قطعات چرخان: دو قطعه متحرک را به چرخ تخته بازی وصل کنید، به طوری که کاشی Barker کاشی سایت 1 را بپوشاند و کاشی Bust بازوی Signpost را بپوشاند.
- قرار دادن شمارنده دور: شمارنده دور را روی فضای دور 1 مسیر دور قرار دهید.
- قرار دادن قانونشکنان: دو قانونشکن را روی فضای Shootout قرار دهید. تعداد قانونشکنان در ابتدای هر دور به مسیر دور بستگی دارد.
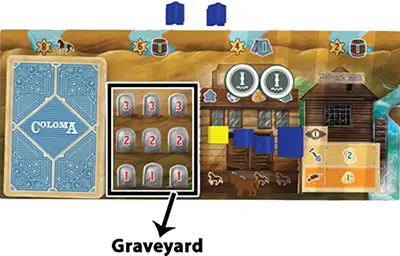
- قرار دادن بشکهها: چهار بشکه را به صورت رو به بالا روی فضاهای مشخص شده قرار دهید. در بازی 5 نفره، از پنج بشکه استفاده کنید.
- قرار دادن تکههای طلا: تکههای طلا را طبق تعداد بازیکنان روی آیکونهای طلا توزیع کنید.
- قرار دادن کاشیهای رودخانه: کاشیهای رودخانه را روی فضاهای مشخص شده قرار دهید.
- مرتبسازی و قرار دادن کاشیهای پل: کاشیهای پل را بر اساس نوع و تعداد بازیکنان مرتب کرده و در پشتهها قرار دهید.
- قرار دادن هتلها: هتلها را رو به بالا روی فضای مشخص شده قرار دهید، با توجه به تعداد بازیکنان.
تنظیمات اضافی برای 2 بازیکن
- قرار دادن عرشه Buster و Pioneer: عرشه Buster و Buster Pioneer را نزدیک تخته قرار دهید.
- قرار دادن اسلحهداران: سه اسلحهدار را از یک رنگ بازیکن متفاوت روی Shootout قرار دهید.
- آمادهسازی عرضه عمومی: Bucks، Horses، Outlaws، کاشیهای رودخانه و بشکهها را نزدیک تخته قرار دهید.
- آمادهسازی بازیکنان: هر بازیکن یک تخته بازیکن، یک رنگ انتخاب میکند و اجزای خود را قرار میدهد:
- نشانگر امتیاز روی فضای "0/100" VP
- عرشه کارت ساختمان شهر روی تخته بازیکن خود
- Pioneer و انتخابگر
- اردوگاه و افراد در لژ
- واگن در بخش نقشه Frontier
- اجزای چوبی در منطقه بازی خود
- 2 Bucks، 1 Horse و 1 Gold Nugget
- 6 کارت بکشید، 4 را نگه دارید
بازی
- دورها و فصلها: یک بازی Coloma دارای سه دور است، هر کدام با پنج فصل.
- انتخاب سایت: بازیکنان به صورت مخفیانه یک سایت روی تخته انتخاب میکنند.
- نمایش انتخابها: بازیکنان به طور همزمان انتخابهای خود را نشان میدهند و Pioneerهای خود را روی سایتهای مربوطه قرار میدهند.
- حل نوبتها: بازیکنان نوبتها را به ترتیب عددی حل میکنند، شروع از سایت 1.
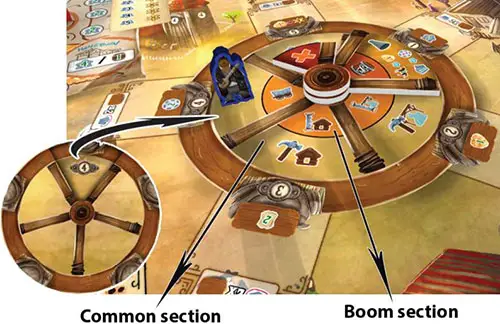
- انجام اقدامات: بازیکنان میتوانند اقدامات Common و Boom را روی سایتهای خود انجام دهند، با پیروی از قوانین.
- برداشتن Pioneerها: پس از تمام شدن نوبتها، بازیکنان Pioneerهای خود را از تخته بردارند.
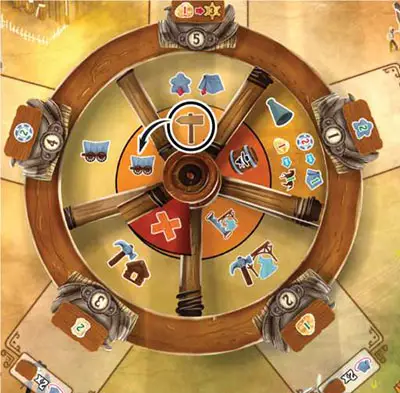
- بازنشانی و چرخش: در ابتدای هر فصل، کاشیها را به ترتیب پیشفرض بازگردانید و آنها را به صورت ساعتگرد بچرخانید.
رویدادهای خاص و اقدامات سایت
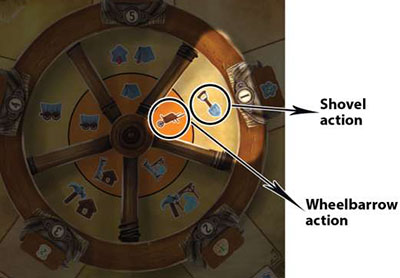
- سایت 1: روز کاری
- Common: عمل بیل
- Boom: عمل چرخفرمان
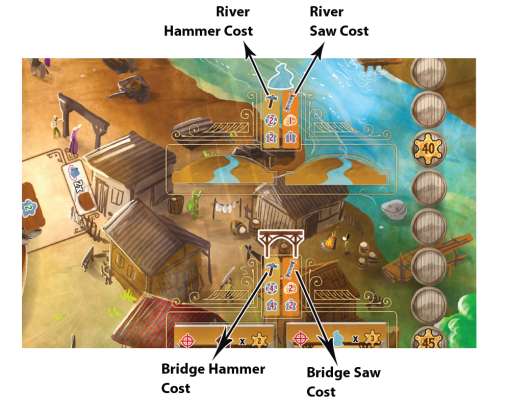
- سایت 2: بررسی رودخانه و ساخت پل
- Common: عمل چکش (بررسی رودخانه یا ساخت پل)
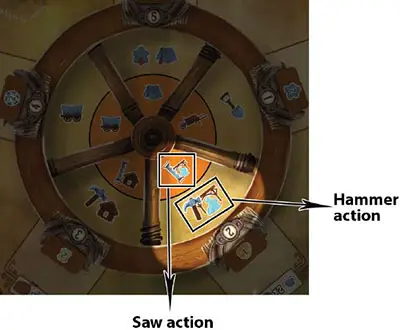
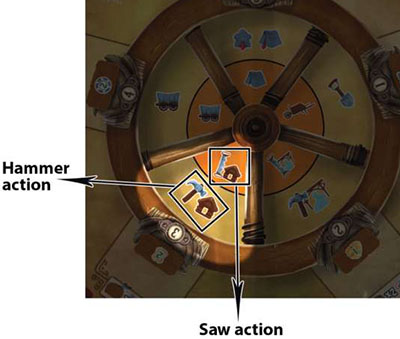
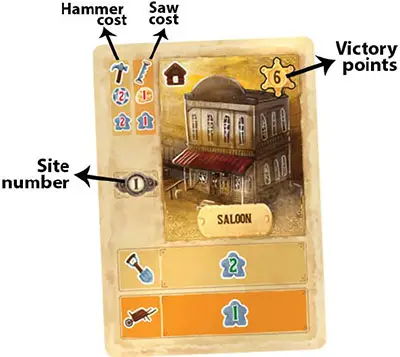
- سایت 3: ساخت ساختمانهای شهر و هتلها
- Common: عمل چکش (ساخت ساختمان شهر یا هتل)
- Boom: عمل اره (ساخت ساختمان شهر یا هتل)
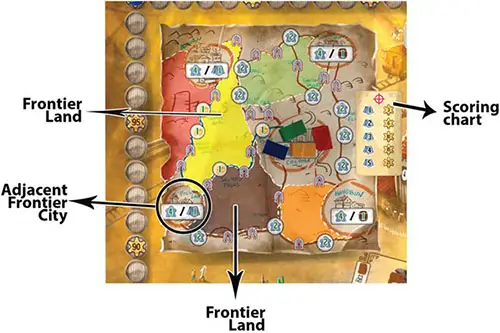
- سایت 4: کاوش در Frontier
- Common: عمل واگن (حرکت واگن)
- Boom: عمل واگن (حرکت واگن)
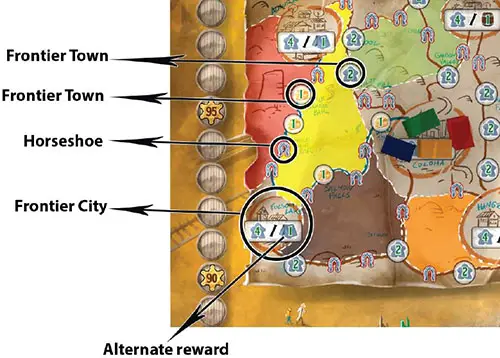
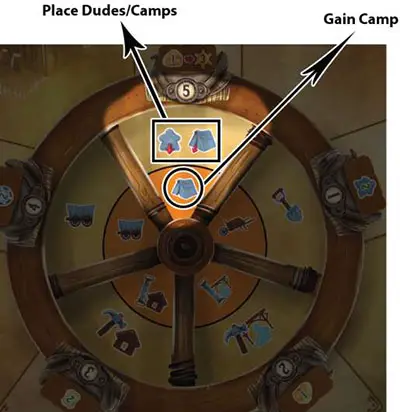
- سایت 5: سکونت در Frontier و دفاع از Coloma
- Common: قرار دادن افراد/اردوگاهها
- Boom: کسب یک اردوگاه
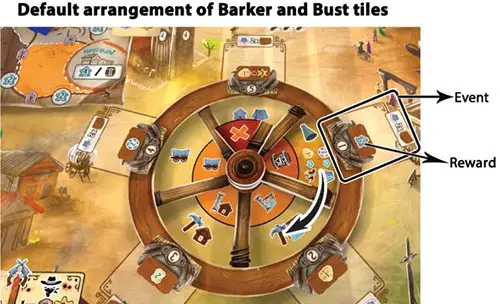
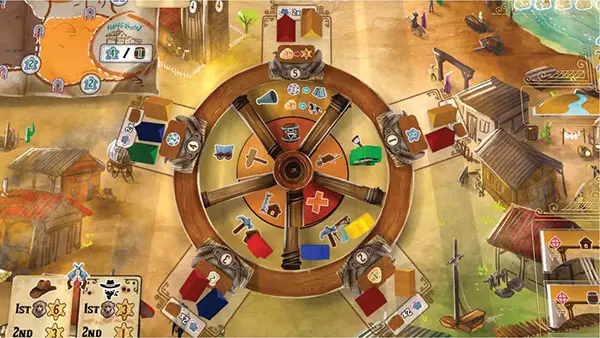
Barker، Bust و Signpost
- Barker: به صورت ساعتگرد میچرخد و رویدادهای سایت را فعال میکند.
- Bust: بخشهای Boom را میپوشاند وقتی خیلی زیاد بازیکن یک سایت را انتخاب میکنند.
- Signpost: به بازیکنان اجازه میدهد تا از عمل Boom سایت مجاور استفاده کنند.
رویدادها
- سایت 1: کسب افراد
- سایت 2: کسب تکه طلا
- سایت 3: کشیدن کارتها
- سایت 4: کسب Bucks
- سایت 5: معامله طلا برای امتیازهای پیروزی
پایان دور و درگیری
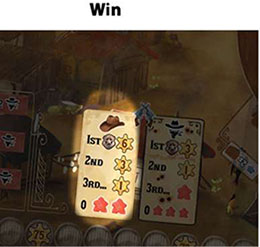
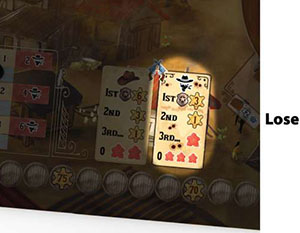
- درگیری: بازیکنان Gunmen را با Outlaws مقایسه میکنند تا برنده را تعیین کنند.
- جوایز و جریمهها: بازیکنان بر اساس نتیجه درگیری جوایز یا جریمهها دریافت میکنند.
قوانین اضافی برای 2 بازیکن
- Buster: یک کارت که نشان میدهد Buster به کدام سایت نمیرود.
- تکههای طلا: میتوان به جای Bucks استفاده کرد.
- افراد مرده: امتیازهای پیروزی را کم میکنند.
پایان بازی
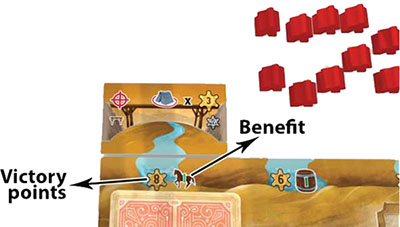
- امتیازهای پیروزی: بازیکنان بر اساس اردوگاهها، پلها، هتلها و افراد مرده امتیاز کسب میکنند.
- برنده: بازیکنی با بیشترین امتیاز پیروزی برنده است.
از بازی Coloma لذت ببرید!
 T
T
.
.
.
.
- .
.
.

.
.


دیدگاه خود را بنویسید